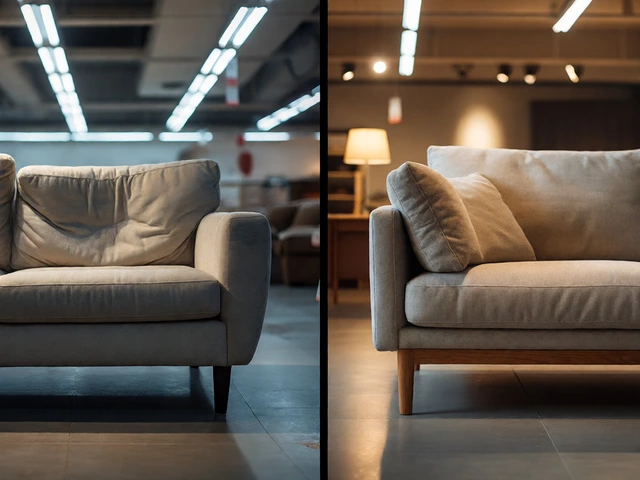
Furniture Storage Prep Checklist
Use this interactive guide to track your progress through the critical preparation steps outlined in our article. Checking off each step ensures your furniture remains pristine during storage.
Tip: If you cannot achieve 100% readiness, do not proceed with wrapping. Trapped moisture or dirt can cause significant damage over months of storage.
You’ve got a beautiful leather armchair or a solid oak dining table that needs to go into the garage, attic, or off-site unit for a few months. Maybe you’re moving house, renovating, or just decluttering. The instinct is often to grab a blanket and call it a day. But blankets shift, absorb moisture, and don’t stop dust from settling into every crevice. If you want your furniture to come out looking exactly as it went in-no scratches, no water spots, no weird smells-you need to shrink wrap furniture. It’s not rocket science, but doing it wrong can trap moisture against wood or melt plastic onto delicate finishes if you get too aggressive with the heat.
This guide walks you through the exact process of shrink wrapping furniture for storage. We’ll cover what materials you actually need, how to prep different types of furniture (wood vs. upholstery), and the critical mistakes that turn a protective layer into a damage hazard. By the end, you’ll know how to create an airtight seal that keeps pests, humidity, and grime at bay.
Why Bother With Shrink Wrap?
Standard moving blankets are great for short trips between two rooms, but they fail during long-term storage. Here’s why professional movers use industrial-grade stretch film or shrink wrap instead:
- Dust and Pest Barrier: Stretch film creates a physical barrier that ants, spiders, and dust mites cannot penetrate easily. Blankets have gaps; plastic doesn’t.
- Moisture Control: While plastic isn’t breathable, high-quality polyethylene film prevents external humidity from soaking into fabrics or warping wood. Just remember: you must prep the item correctly first, or you’ll trap existing moisture inside.
- Scratch Protection: The film holds padding (like bubble wrap or foam) tightly against corners and edges, preventing them from rubbing against other items in a crowded storage unit.
- Visibility: Clear wrap lets you see what’s inside without unwrapping everything. You can label it directly on the surface.
Gathering Your Toolkit
Before you start tearing off plastic, make sure you have the right supplies. You don’t need a full industrial setup, but using the wrong tape will cost you later.
| Item | Purpose | Pro Tip |
|---|---|---|
| Industrial Stretch Film | The primary wrapping material. Look for 17-20 micron thickness for durability. | Don't use cheap cling wrap from the kitchen aisle; it tears too easily. |
| Bubble Wrap or Foam Padding | Cushions sharp corners and protects glass/mirrors. | Wrap fragile parts individually before bundling the whole piece. |
| Furniture Pads / Moving Blankets | Provides bulk protection for large surfaces like sofas. | Use these under the plastic, not over it, to avoid slipping. |
| Polypropylene Tape | Secures the film ends. Do not use duct tape directly on wood! | Tape goes on the plastic overlap, never on the furniture finish. |
| Heat Gun (Optional) | Shrinks loose plastic for a tight fit on irregular shapes. | Keep it moving! Static heat melts plastic instantly. |
Preparation Is Everything
If you skip this step, you’re just sealing in dirt and potential mold. The rule of thumb: clean it, dry it, pad it.
Cleaning and Drying
Wipe down all surfaces. Dust acts as an abrasive when trapped under plastic for months. For upholstered items, vacuum thoroughly to remove crumbs and hair. If there are stains, treat them now. Once cleaned, let the furniture air dry completely. If you wrap damp wood or fabric, condensation will form inside the plastic as temperatures fluctuate, leading to mildew. In humid climates, consider placing silica gel packets inside the wrap near enclosed spaces like drawers.
Disassembly
Take apart what you can. Remove legs from tables, cushions from sofas, and doors from cabinets if possible. Smaller pieces are easier to wrap and stack. Keep screws and hardware in labeled Ziploc bags taped to the main body of the furniture so you don’t lose them.
Padding Fragile Areas
Sharp corners are the first thing to poke through plastic. Wrap wooden legs, metal arms, and glass tops with bubble wrap or foam corner guards. Secure this padding with a little bit of painter’s tape (which removes cleanly) or by tucking it under the first layer of stretch film. Never put adhesive tape directly on varnished wood or painted surfaces-it leaves residue or peels the finish.
The Wrapping Process: Step-by-Step
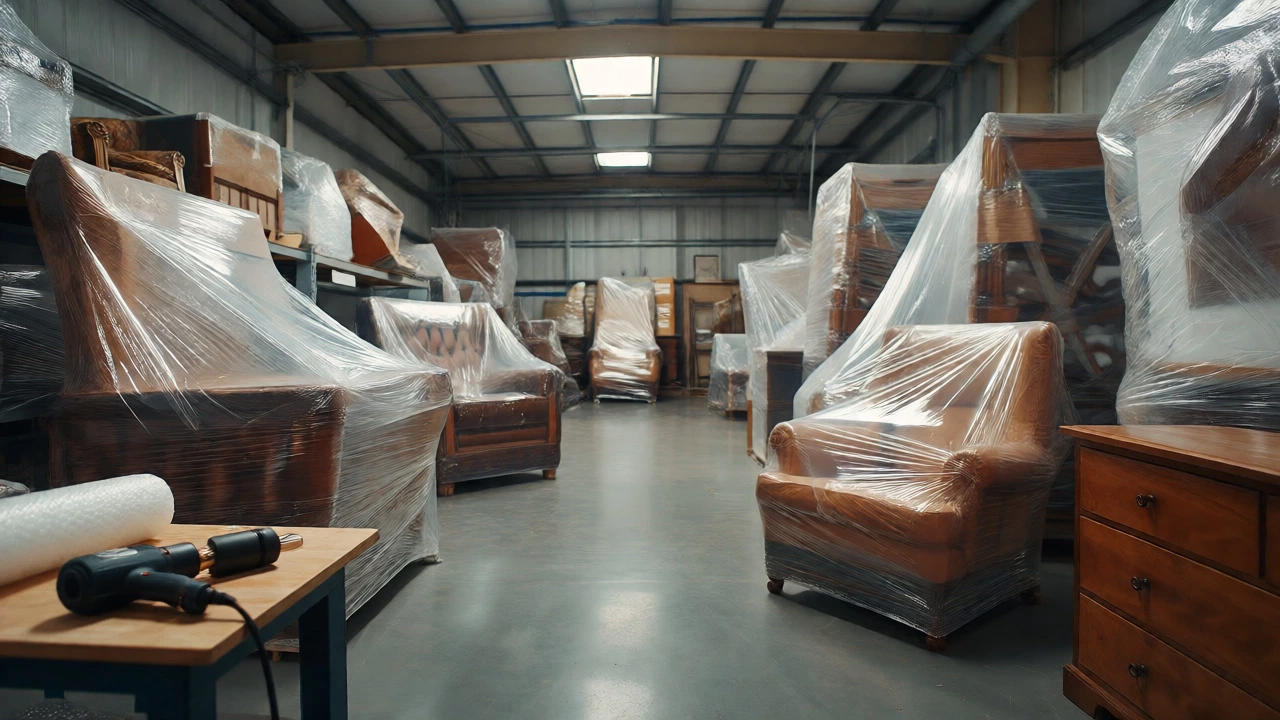
Now comes the actual wrapping. This works best with two people-one holding the roll, one guiding the furniture-but you can do it solo with patience.
- Anchor the Start: Hold the end of the stretch film against the center of the largest flat surface (like the seat of a chair or the top of a table). Use a small piece of tape to hold it in place temporarily, or press it firmly if the film has enough tack.
- Wrap Horizontally First: Begin rotating around the item. Pull the film taut as you go. The tension is key-stretch film only clings to itself when stretched. Overlap each pass by about 50% to ensure no gaps appear.
- Work Vertically: Once the horizontal base is secure, move up and down the height of the furniture. For tall items like bookcases, spiral the wrap upward, covering shelves and sides.
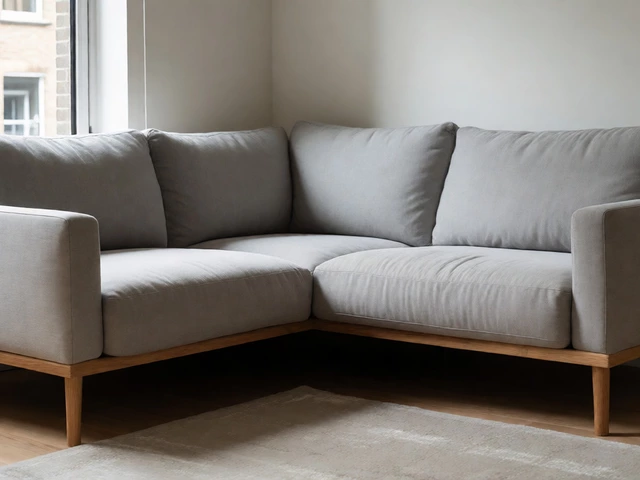
- Protect Openings: For sofas or chairs, wrap the back, then the front, then the arms. Make sure the plastic covers the entire footprint. If the bottom is open, try to wrap underneath the feet or legs to keep bugs out.
- Seal the Ends: When you reach the end of the roll, cut the film and press the tail firmly onto the wrapped layers. Because stretch film sticks to itself, you usually don’t need tape here. If it won’t stick, use a strip of polypropylene tape across the seam.
To Heat or Not To Heat?
This is where most DIYers get nervous. "Shrink wrap" implies heat, but for furniture storage, we often mean "stretch wrap." True shrink wrap requires a heat gun to tighten the plastic. Stretch wrap relies on elasticity.
When to use heat: Only use a heat gun if you are using specific shrink-wrap film (often used for pallets) and need a very tight, drum-like skin on irregularly shaped items like ornate lamps or curved chairs. Even then, be careful. Plastic melts at relatively low temperatures. Keep the heat gun moving constantly and maintain a distance of at least 6-8 inches. Test on a scrap piece first.
When to avoid heat: For standard sofas, dressers, and tables, simple industrial stretch film is safer and easier. It provides ample protection without the risk of melting plastic onto your expensive upholstery. If you use standard clear packing tape and regular polyethylene sheeting, you definitely do not need heat.
Special Considerations by Material
Not all furniture reacts the same way to being sealed in plastic.
Wood Furniture
Wood breathes. Sealing it in non-breathable plastic can trap natural oils and moisture, potentially causing white haze on finishes or warping. To mitigate this:
- Ensure the wood is fully cured and dry.
- Apply a fresh coat of wax or polish before wrapping to seal the pores.
- Avoid wrapping solid wood in direct sunlight or extreme heat while stored.
- For antique wood, consider using breathable canvas covers underneath the plastic, or leave the plastic slightly loose rather than vacuum-tight.
Upholstered Furniture
Fabric loves to absorb odors. Before wrapping, sprinkle baking soda on the fabric, let it sit for an hour, and vacuum it up. This neutralizes smells. For leather, condition it first. Leather can crack if it dries out, and conditioning helps maintain flexibility during storage. Wrap leather tightly to prevent dust accumulation, but check periodically if storing for years.
Metal and Glass
Metal can rust if condensation forms. Wipe metal frames with a light oil or WD-40 before wrapping to displace moisture. Glass tops should always be padded with cardboard or foam before plastic goes on, as plastic alone offers zero impact protection.
Common Mistakes to Avoid
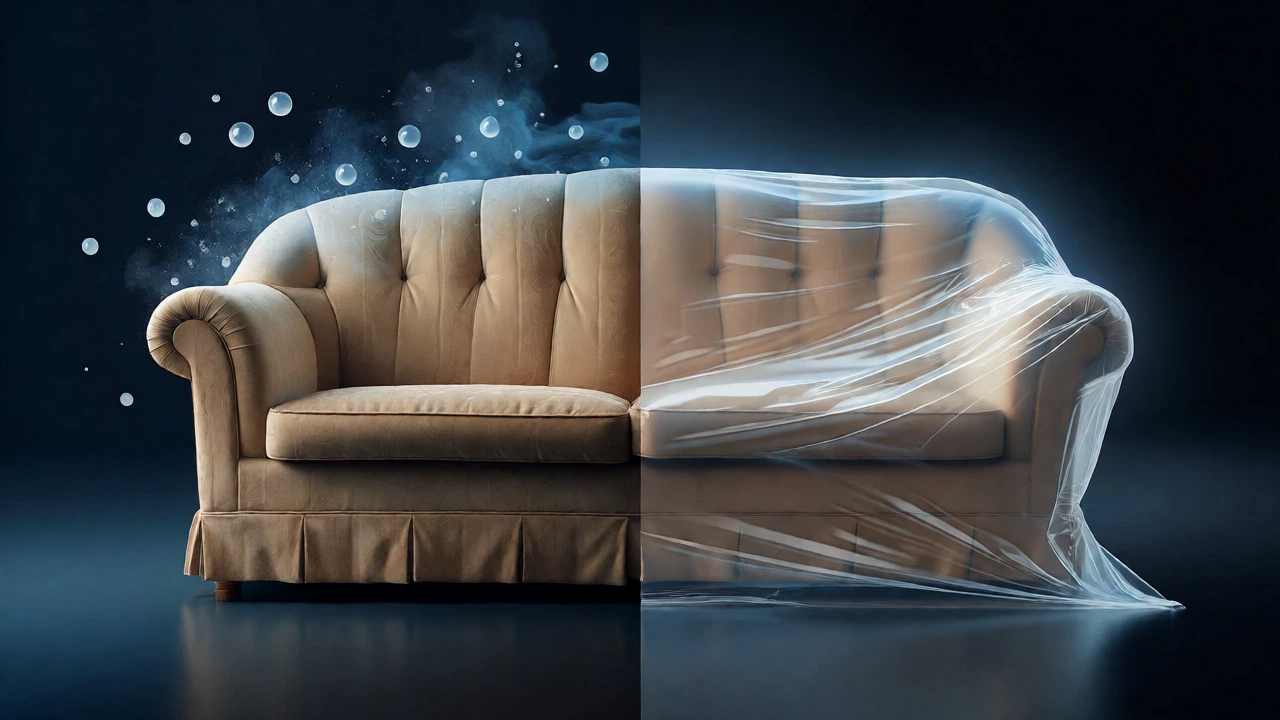
We’ve seen plenty of disasters caused by good intentions gone wrong. Here’s what to steer clear of:
- Using Duct Tape on Wood: Duct tape leaves a sticky mess that requires harsh solvents to remove, which can damage finishes. Always tape the plastic to itself, or use painter’s tape on the furniture if absolutely necessary.
- Wrapping Wet Items: As mentioned, moisture is the enemy. If you just cleaned the sofa with water-based shampoo, wait 24 hours before wrapping.
- Ignoring Ventilation: If storing in a hot attic, plastic can act like a greenhouse. Ensure the storage area is climate-controlled if possible, or leave small vents in the plastic (cut tiny holes) for extremely long-term storage of wood items.
- Over-Tightening on Delicate Frames: Don’t pull the film so hard that it crushes soft cushions or bends thin metal frames. Support the structure with internal braces if needed.
Unwrapping and Post-Storage Care
When you’re ready to bring your furniture back into your home, don’t just slice the plastic off in a hurry.
- Inspect for Damage: Check for any tears in the plastic that might indicate pest entry or moisture leaks.
- Remove Slowly: Cut the plastic along a hidden seam (like the underside of a sofa) and peel it away gently. Avoid dragging rough plastic across finished wood.
- Air Out: Let the furniture sit in a well-ventilated room for a few hours. This allows any trapped stale air to escape and helps eliminate the "storage smell."
- Clean Again: Give it a quick wipe-down or vacuum to remove any dust that settled on the outside of the plastic during transport or handling.
Final Thoughts
Shrink wrapping furniture is one of those tasks that feels tedious until you see the result. A properly wrapped dresser looks like a museum exhibit compared to one left under a dusty tarp. It takes about 15-20 minutes per large item, but it saves you the hassle of refinishing scratched wood or cleaning moldy fabric later. Invest in a decent roll of industrial stretch film, take your time prepping the surface, and your furniture will thank you when you unpack it.
Can I use regular plastic drop cloths to store furniture?
Yes, but they are less effective than industrial stretch film. Drop cloths tear easily and don't conform to shapes well, leaving gaps where dust and pests can enter. If you use them, double-layer them and secure them tightly with tape, but expect less protection against moisture shifts.
Does shrink wrapping cause mold on wood?
It can if the wood is damp or if the storage environment has high humidity fluctuations. Wood releases moisture naturally. If trapped in non-breathable plastic, this moisture turns to condensation. To prevent mold, ensure the wood is bone-dry before wrapping and consider adding silica gel packs inside the wrap.
How thick should the stretch film be for furniture?
Look for film that is at least 17 microns (0.7 mil) thick. Thinner films (10-12 microns) are fine for light boxes but tear easily on furniture corners. For heavy-duty protection, especially for sharp-edged items, 20-micron film is recommended.
Should I wrap leather furniture in plastic?
Yes, but with caution. Condition the leather first to prevent drying. Plastic protects leather from dust and UV damage, which can fade color. However, avoid storing leather in extreme heat while wrapped, as the combination of heat and lack of airflow can stiffen the hide.
Can I reuse the shrink wrap?
Technically yes, but it's rarely worth it. Stretch film loses its elasticity after being stretched once. Reusing it results in a loose, saggy fit that fails to protect against dust. Plus, removing old plastic often leaves behind bits of tape or debris that scratch the new item you're trying to wrap.