Car Wrap Adhesive: Everything You Need to Know
When working with car wrap adhesive, a pressure‑sensitive glue that bonds vinyl film to a vehicle’s body. Also known as wrap glue, it holds the wrap firmly while still allowing clean removal later. This kind of glue is the backbone of any vehicle‑customization project that uses wrap film. If you’ve never tried a wrap, think of it as a giant sticker that changes colour, finish or branding without a paint job. Below we’ll walk through the key pieces you need to master, from the film itself to the tools that make a perfect finish.
Why Automotive Vinyl Matters
The next player in the process is automotive vinyl, a flexible, printable material designed specifically for vehicle surfaces. It relies on car wrap adhesive to stay in place and offers durability against UV, weather and minor scratches. When the vinyl and adhesive work together, you get a smooth, long‑lasting look that can be removed without damaging the paint. Knowing the vinyl’s thickness, finish (gloss, matte, satin) and stretch limits helps you pick the right adhesive formula for a bubble‑free result.
Before the glue meets the film, the car’s surface must be prepped properly. Surface preparation, the act of cleaning, degreasing and sometimes polishing the paint is the foundation of a strong bond. A clean, dry surface prevents adhesive failure and reduces bubble formation. Use a dedicated automotive cleaner, lint‑free cloth, and inspect for wax or sealant residue – those will act like a barrier and cause the wrap to peel prematurely.
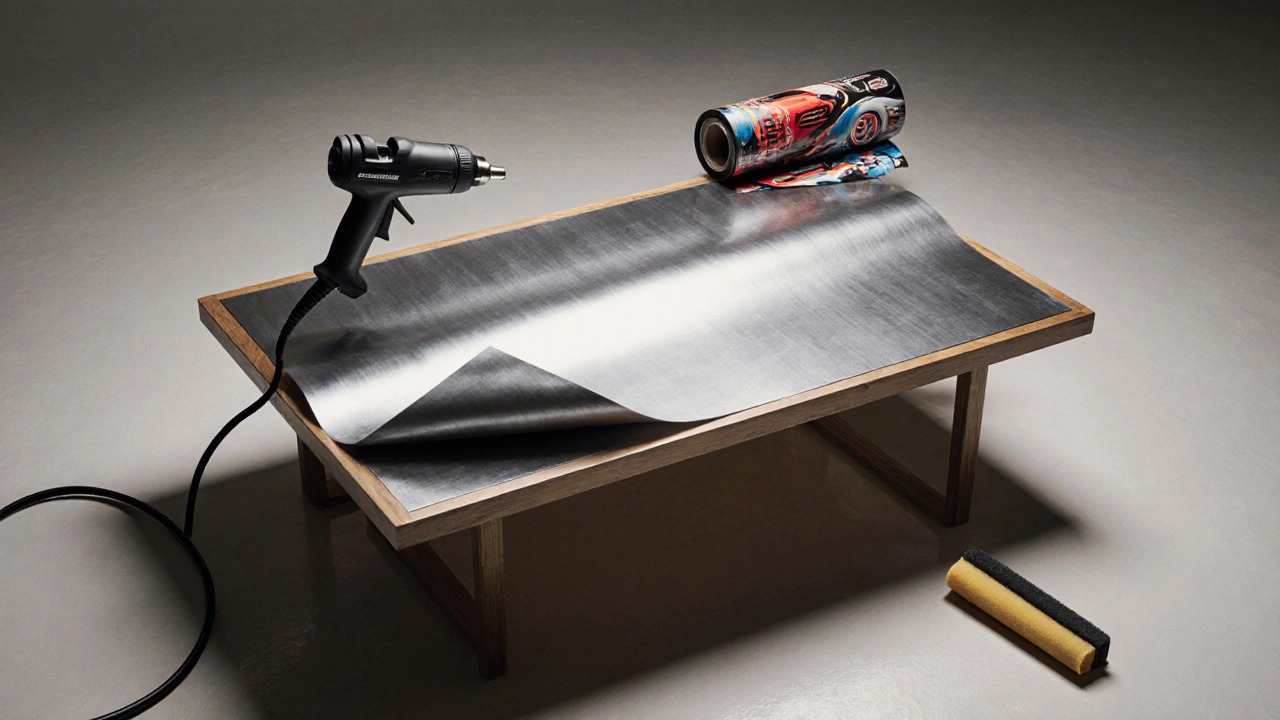
Once the surface is ready, the heat gun becomes your best friend. Heat gun, a tool that emits focused hot air to soften the adhesive and stretch the vinyl helps you conform the film around curves, edges and door handles. By moving the gun evenly and keeping it at the right distance, the adhesive softens just enough to flow into gaps, creating a seamless finish. Too much heat can scorch the vinyl, while too little leaves the film stiff and prone to tearing.
After the wrap has lived its life, removal is the final test of a good adhesive. Adhesive removal, the process of safely taking off the film and any residue often involves a gentle heat source, a plastic scraper, and an adhesive remover that won’t harm the paint. Applying heat softens the glue, letting you peel the vinyl away in large sections. Follow up with a mild solvent to dissolve any leftover tack, then wash the surface to reveal the original finish.
Durability isn’t just about the glue’s strength; it’s also about how the wrap handles climate. Temperature swings, humidity and direct sunlight can affect the adhesive’s tack over time. High‑quality car wrap adhesive is formulated to resist UV degradation and retain elasticity, meaning the film won’t crack or lift as the seasons change. Regular washing with a non‑abrasive soap and avoiding harsh chemicals extend the life of both the vinyl and the adhesive bond.
Safety and environmental impact are often overlooked, but they matter. Some adhesives contain volatile organic compounds (VOCs) that emit fumes during application. Choose low‑VOC or water‑based formulas when possible, work in a well‑ventilated area, and wear gloves to protect your skin. These steps keep the job comfortable and reduce the ecological footprint of your customization project.
Now that you’ve seen how the adhesive, vinyl, surface prep, heat gun and removal all fit together, you’re ready to dive into the detailed guides below. Each article breaks down a specific step, offers product recommendations and shares real‑world tips to help you achieve a pro‑level wrap without a professional shop. Let’s get started and transform your ride with confidence.
-
Quentin Melbourn

- 12 October 2025
Can You Wrap Furniture with Car Wrap? DIY Guide & Tips
Learn if car wrap vinyl works for furniture, see pros, step‑by‑step DIY instructions, costs, and alternatives for a lasting, custom finish.