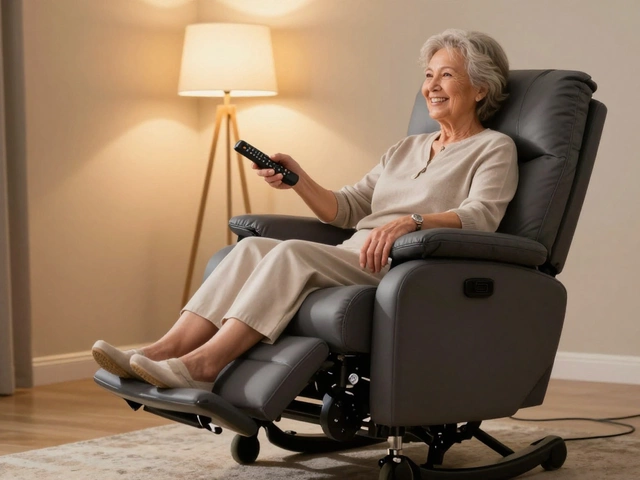
How to Remove Chair Arms – Easy DIY Guide
If your chair feels cramped, clashes with your décor, or you just want a sleeker look, taking off the arms can be a game‑changer. You don’t need a carpenter – a few basic tools and a bit of patience are enough. This guide walks you through everything from spotting hidden screws to finishing the new look, so you can transform a bulky seat into a versatile piece for any room.
Tools You’ll Need
Grab these items before you start: a screwdriver set (flat‑head and Phillips), an adjustable wrench, a drill with small drill bits, a putty knife, sandpaper (120‑grit works well), a cloth, wood filler (if you plan to patch holes), and paint or veneer to match the rest of the chair. Having everything on hand saves time and avoids frustration halfway through.
Step‑by‑Step Removal Process
1. Inspect the arm joints. Most arms are bolted to the frame, but some use hidden brackets or dowels. Look under the arm cushion and along the underside of the seat for screws or metal plates.
2. Unscrew the fasteners. Use the appropriate screwdriver or drill to remove each bolt. Keep the screws in a small bowl – you might need them later if you decide to re‑attach the arms.
3. Deal with brackets. If the arm is glued or nailed to a metal bracket, gently tap the bracket with a rubber mallet while supporting the arm with the putty knife. This loosens the bond without cracking the wood.
4. Lift the arm off. Once all connections are free, carefully lift the arm away from the seat. If it feels stuck, check again for any missed screws.
5. Clean up the holes. Plug any screw holes with wood filler, smooth it with a putty knife, and let it dry according to the product instructions.
6. Sand and finish. Lightly sand the filler and the surrounding area until it blends with the rest of the frame. Wipe away dust, then apply paint, varnish, or a veneer strip that matches your chair’s original finish. A quick coat of clear sealant adds durability.
7. Re‑upholster if needed. If the arm’s removal left an exposed edge on the seat cushion, add a thin layer of foam and fabric to keep it comfortable. Staple the fabric tightly and trim excess.
Now your chair is arm‑free and ready for a new role – be it a sleek desk seat, a stylish accent piece, or a low-profile spot under a bed. The same steps work for dining chairs, office chairs, or even vintage armchairs you want to modernise.
Feeling unsure or want a flawless finish? Our team at Custom Bedroom Solutions in East Yorkshire can help you redesign the chair or match the finish perfectly to your bedroom set. A professional touch turns a DIY project into a polished, cohesive look for your home.
Removing chair arms is a simple, inexpensive upgrade that instantly changes a room’s vibe. With the right tools and a clear plan, you’ll have a fresh piece of furniture ready to fit your style in no time.

-
Quentin Melbourn

- 31 July 2025
Office Chair Armrests: Should You Remove Them for Better Comfort and Ergonomics?
Wondering if you should take the arms off your office chair? Explore how armrests affect comfort, posture, and productivity—and find out what's best for you.
Popular Posts


Categories
Tag Clouds