Shrink Wrapping Your Furniture: Simple Ways to Keep It Safe
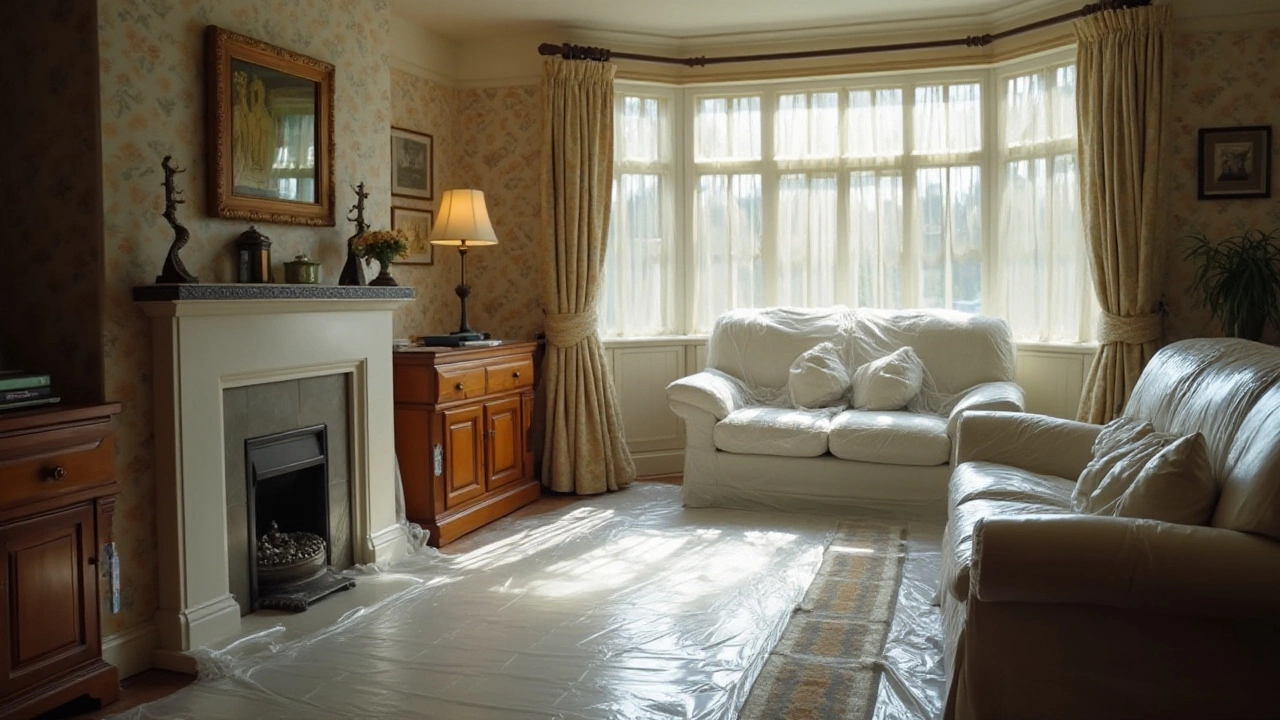
Ever wonder why some people swear by shrink wrapping their patio sets, wardrobes, or even a brand‑new sofa? It’s not a fancy trend – it’s a practical, low‑cost way to shield what you’ve spent hard‑earned money on. Whether you store a dining table for the winter or protect a new wardrobe during a move, shrink wrap creates a tight, breathable seal that stops dust, moisture, and scratches from doing any damage.
Why Choose Shrink Wrapping?
First off, shrink wrap is cheap compared to a full‑blown storage unit. A single roll can cover a whole bedroom set, and you only need a heat gun or a hair dryer to make it stick. The film is clear, so you can see what’s inside without unwrapping – handy when you’re hunting for that one matching chair in a sea of boxes. It also blocks out UV rays, which can fade wood finishes or crack upholstery over time.
Another big win is convenience. You don’t need to buy bulky covers or custom‑fit furniture bags. Just wrap, heat, and you’re done. The material is lightweight, so it won’t add a lot of extra weight to your moving van or storage loft. And because it’s airtight, it helps keep pests away – no more worrying about mice nesting in an uncovered mattress.
Step‑by‑Step Shrink Wrapping Guide
1. Gather your tools. You’ll need a roll of clear polyethylene shrink wrap (usually 12‑18 mil thickness works well for furniture), a heat gun or a sturdy hair dryer, and a pair of scissors. If you’re covering large items, a ladder or step stool can help you reach the top.
2. Clean the piece. Dust, debris, or moisture can get trapped under the film, turning shrink wrap into a sandwich of grime. Wipe down wood, metal, or fabric with a dry cloth. For fabric pieces, let them air out for a few hours to avoid mildew.
3. Pre‑wrap with a loose layer. Start by wrapping the item loosely with a sheet of the film. This first layer creates a cushion and prevents the heat from damaging delicate finishes. Overlap the edges by a couple of inches and tape the seams with painter’s tape.
4. Apply the tight wrap. Unroll a second layer of shrink wrap over the whole piece. Stretch it just enough to avoid wrinkles, then secure the ends with tape. This is the layer you’ll actually shrink.
5. Heat it up. Turn on the heat gun to a medium setting. Move it slowly over the film, keeping it about 6‑8 inches away. You’ll see the plastic tighten and hug the furniture. Work in sections to avoid overheating any spot – you don’t want the film to melt or scorch the wood.
6. Trim excess. Once the film is snug, use scissors to cut away any extra material. Leave a small margin at the ends so the wrap stays sealed.
7. Label and store. Write the contents, date, and any special notes on a piece of tape and stick it on the outside. Store the wrapped furniture in a dry, cool place. If you’re using it outdoors for a season, make sure the area is shaded to prevent heat buildup.
That’s it – about ten minutes for a small chair, an hour for a full bedroom set. The result is a protective barrier that saves you from pricey repairs later.
For those who prefer a no‑heat method, you can buy pre‑shrunk plastic covers that snap on, but they’re usually pricier and less custom‑fit. If you’re on a budget, the DIY heat‑shrink method beats them hands down.
When it comes to buying shrink wrap, head to your local hardware store or order online. Look for rolls labeled “UV‑resistant” if the furniture will sit in the sun for weeks. A 50‑meter roll costs around £15, and that’s enough for several pieces.
Bottom line: shrink wrapping is a simple, cheap hack that adds years to your furniture’s life. Give it a try the next time you need to store, move, or protect an item – you’ll see the difference right away.
-
Quentin Melbourn

- 16 December 2024
Is Shrink Wrapping Furniture a Smart Storage Solution?
As people increasingly look for ways to protect their furniture during storage or a move, shrink wrapping emerges as a viable option. This method offers a layer of protection against dust, moisture, and pests, helping maintain the quality of the furniture. Yet, questions about its practicality, cost, and environmental impact persist. This article delves into the benefits and drawbacks of shrink wrapping, offering insightful tips on when it makes the most sense to use this method.
Categories

Tag Clouds