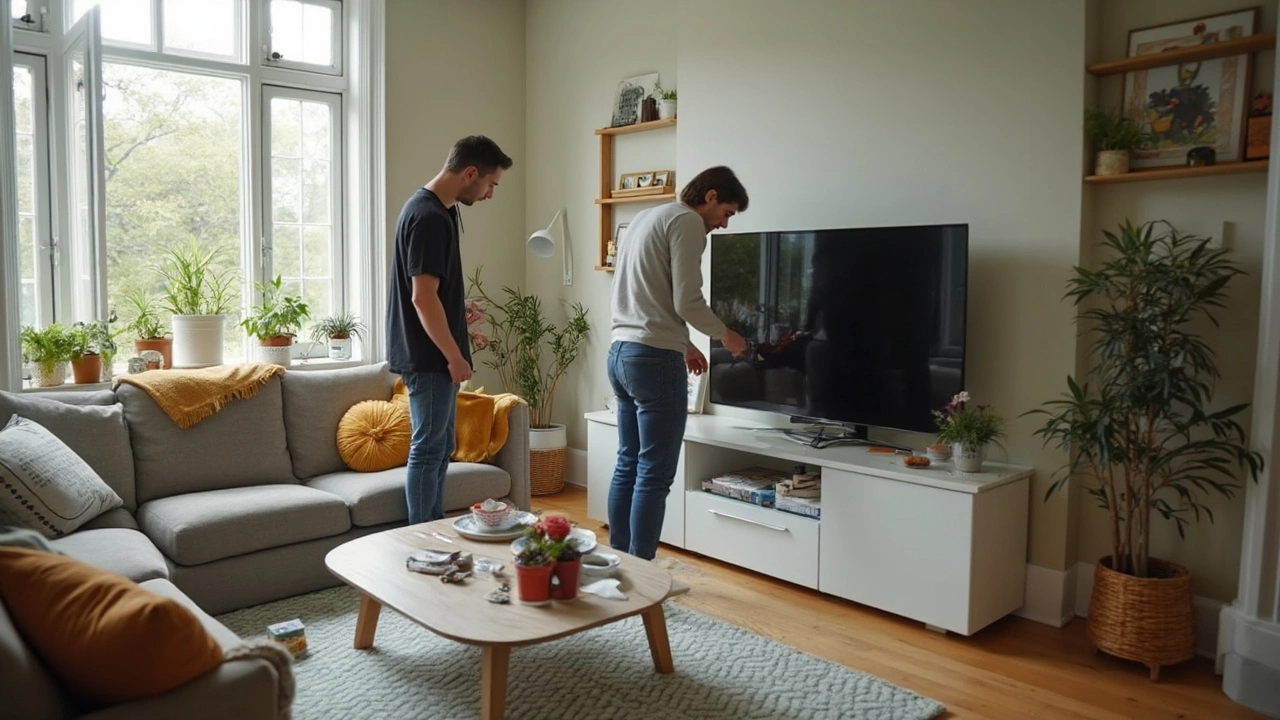
Ready to give your TV a new home? If you’re like most people, you probably mounted your TV on the wall for that clean look, only to realize you miss the flexibility—or maybe you’re moving and can’t leave big holes behind. The good news: turning your wall-mounted TV into a freestanding one is totally doable, and you don’t need fancy tools or technical skills to pull it off.
The first step is simple: you need to know if your TV came with its original stand. A lot of folks stash those feet (or the pedestal) in the garage or a closet and completely forget about them. If you still have them, you’re ahead of the game. If not, don’t sweat it—universal TV stands are easy to find online and work with most brands, thanks to standard VESA mounting patterns.
Before you pull your TV off the wall, grab your measuring tape and a screwdriver. Check the back of your TV for the VESA pattern—the set of holes where the wall mount was attached. TVs usually use these same holes for attaching to stands. And don’t forget to measure the bolt size; most TVs use M4, M6, or M8 screws, which you can grab at pretty much any hardware store.
- Why Convert from Wall Mount to Stand?
- Check What Parts You Need
- Step-by-Step TV Removal and Setup
- Final Tips for a Safe and Solid Setup
Why Convert from Wall Mount to Stand?
Plenty of people start with their TV on the wall, only to rethink it a year or two later. One big reason is flexibility. If your TV is stuck on a wall, you can’t easily move it to another room or rearrange your furniture. With a wall-mounted TV on a stand, you can change things up anytime—no tools, no patching holes.
Next up: renting. Nearly half of renters in the US say they worry about damaging the walls in their home. Thick mounts and heavy TVs can leave deep holes, chipped paint, and drywall issues—not great for getting a security deposit back. Switching to a stand keeps your walls damage-free.
TV size also matters. When you wall-mount a massive TV, you might notice a stiff neck from craning up, or glare from poorly placed lights. A stand lets you tweak your TV’s height and angle in seconds. It fits changing needs—whether you’re gaming on a beanbag or binging movies from the couch.
- You want to upgrade or redecorate but the wall bracket messes up your vibe.
- More gadgets? A stand gives you space to park a soundbar, streaming box, or old-school game console underneath.
- Kid safety: wall mounts are steady, but a solid stand and proper cable management can be just as secure, especially with newer models.
Here’s a look at why people swap wall mounts for stands. These numbers show it’s not just a small group considering the change:
| Reason | % of TV Owners |
|---|---|
| Flexibility to rearrange room | 56% |
| Prevent wall damage | 38% |
| Need for extra shelf/storage space | 31% |
| Better viewing comfort | 44% |
So if you’re eyeing a new setup or want your deposit back, giving your old mount the boot just makes sense.
Check What Parts You Need
Before you do anything else, make sure you’ve got all the right gear to switch your TV from wall mount to stand. You’ll save yourself a headache by double-checking this up front. Here’s what you’ll need to pull this off:
- TV stand or base: If you saved the original stand that came with your TV, dust it off. If not, look for a universal stand—these work with most models since TVs follow VESA standards for mounting holes. Just match the stand’s VESA size with your TV’s.
- Mounting screws or bolts: Most modern TVs use M4, M6, or M8 screws. Check your TV manual or read the label next to the mounting holes. If you’re going universal, lots of stands throw in a bag of screws in all common sizes.
- Screwdriver or Allen key: Usually a Phillips head screwdriver does the trick. Some stands use an Allen key, which usually comes in the box if it’s needed.
- Measuring tape or ruler: This keeps you from playing the guessing game—measure the distance between the holes (both width and height) to match with your new stand.
- Soft surface: Something like a blanket or a thick towel protects your screen when you lay the TV down to work on it. Scratches are the worst.
Don’t forget your cables—if your wall mount tucked HDMI or power cords behind the wall, you’ll want some extra length now that your TV sits lower. Lastly, check the feet or pedestal design on stands. Flat stands are more stable for homes with kids or big pets, while smaller footprints work great if you’re tight on space. The key part here: make sure your wall-mounted TV can connect solidly to the new stand, and all screws are secure but not over-tightened. wobbly setup? Not a good time. Double-check everything before you lift that screen back up.

Step-by-Step TV Removal and Setup
All set to get your TV off the wall and on a stand? Don’t rush—these big screens are heavier and easier to scratch or drop than you think. Here’s a step-by-step guide so you don’t end up with a busted screen or a mess on your hands.
- Unplug Everything First. Seriously, don’t skip this. Unplug the power cord and all devices connected to your TV—HDMI cables, gaming consoles, soundbars, the works.
- Clear Out Some Space. Make sure there’s enough room on the floor or a sturdy table to lay your TV down, screen side up. Lay down a soft blanket or towel so you don’t scratch it.
- Grab a Buddy. Lifting a TV solo (especially one over 43 inches) is a recipe for trouble. Two people are safer and can navigate those awkward wall brackets without disaster.
- Remove the TV from the Wall Mount. Most mounts use a locking bar or screws at the bottom. Use the right screwdriver. After loosening, gently lift the TV up and off the bracket. Still got the original mount paperwork? Flip through it to check for any hidden latches.
- Lay the TV Down Carefully. Lay it flat on your soft surface. Don’t put any pressure on the screen.
- Remove the Wall Mount Brackets from the TV. There might be two or more metal arms attached with screws. Keep these brackets and screws together—you'll need the right screws to add the new stand (or keep for resale later).
- Attach the Stand or TV Legs. Here’s where that measuring comes in. Line up the stand’s screw holes with the wall-mounted TV's VESA pattern. Attach screws gently but snug—don’t overtighten or you might strip the threads.
- Place the TV on the Stand and Test Stability. Lift upright and place it on the TV stand you’ve chosen. Wiggle it slightly to make sure it’s balanced. Don’t forget to double-check the weight limit of your stand before finishing up.
- Reconnect Cables and Power Up. Plug everything back in. Now you can tidy up your cables or use zip ties so the back of your entertainment setup looks sharp.
Wondering about common TV sizes and weights you might deal with? Here’s a quick chart:
| TV Size (inches) | Average Weight (lbs) |
|---|---|
| 32 | 10 - 15 |
| 43 | 15 - 25 |
| 55 | 28 - 48 |
| 65 | 50 - 75 |
If you’re missing screws or original parts, you can usually grab replacements online. Check your TV manual or the manufacturer’s website for exact bolt specs. And one final tip: universal stands mention which TV brands and VESA sizes they support right on the box, so double-check before clicking ‘buy.’
Final Tips for a Safe and Solid Setup
Now that your TV is free from the wall, let’s make sure it sits safe and sturdy on its new perch. The last thing you want is any wobble—or worse, a topple the first time someone bumps the stand. Here are the basics you can’t skip:
- Put the stand on a level, flat surface. Even the best TV stands can’t fix a tilted floor. Use a bubble level if you’re not sure. Carpets can cause a little leaning too, so double-check before placing your TV.
- Double-check all bolts and screws are tight. Most TV falls happen because something got loose or wasn’t secured enough. Give each screw a final twist after mounting.
- Manage your cables right away. Bunched-up cords can pull your TV off balance or become tripping hazards. Use Velcro wraps or zip ties behind the stand to keep things neat.
- If you have kids or pets, look into anti-tip straps. These attach from the back of your TV to the wall, making it almost impossible to knock the screen over. According to the U.S. Consumer Product Safety Commission, thousands of kids are injured each year from falling TVs—it’s a real risk.
- Check weight limits. Not every stand fits every TV. Even if it looks sturdy, make sure your model falls within the weight and size range listed by the stand manufacturer. Most universal stands will spell this out on the box or the online listing.
Here’s one more pro move: if you’re using a TV stand that has adjustable arms or shelves, give those joints a quick look every so often. Screws and fittings can work loose with normal use. A two-minute check every few months can save you a costly accident.
With all these steps, you’ll have a solid, safe setup that makes your living space both practical and comfortable. Enjoy the view—no wall mount needed.


